Installing the Synapse Cache is a pretty straightforward process. The first thing you'll need to do is power down your computer, open the case and mount the SSD in an empty drive bay. If your computer does not have a spot for 2.5" drives, you'll want to use the included adapter. Once that is done, connect SATA interface and power cables to the drive, close up your case and power your computer on.
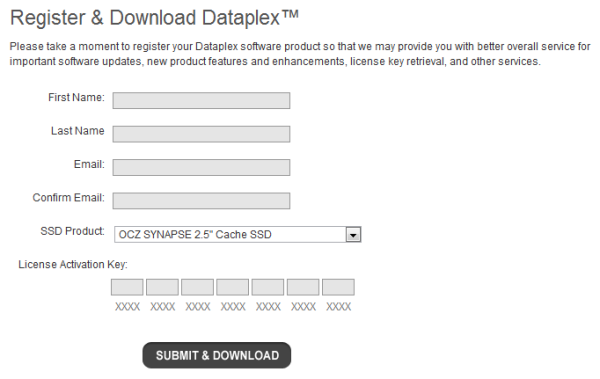
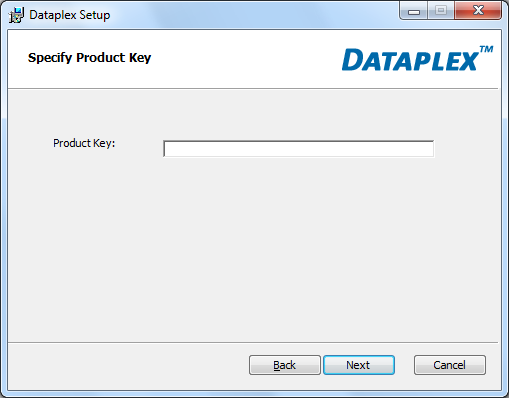
The next step is to register and download the Dataplex software. The Synapse Cache comes with a license key, which is printed on the manual as well as the drive itself. After locating the product key, visit the product page where you will see a tab for "Downloads". Click the tab and enter your name, email and license key. Then click the "Submit and Download" button at the bottom of the page.
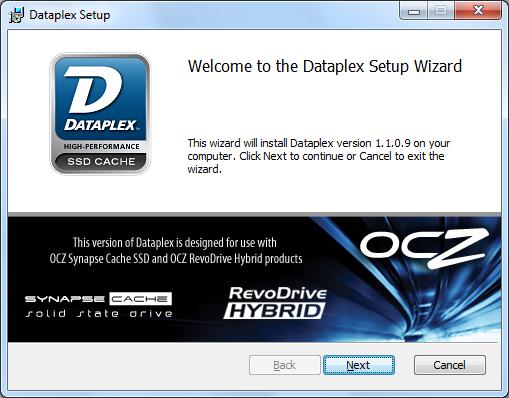
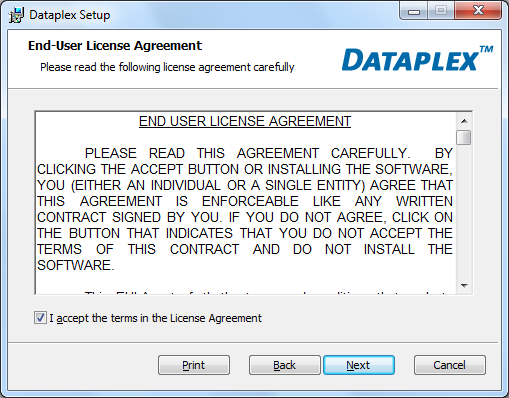
Once you've downloaded the zip file containing the Dataplex software, extract its contents to your hard drive and run "install.exe" using an account with Administrator rights. When the Dataplex Setup Wizard appears, click "Next" to continue. Once you've read and accepted the EULA, the program will prompt you for your product key.
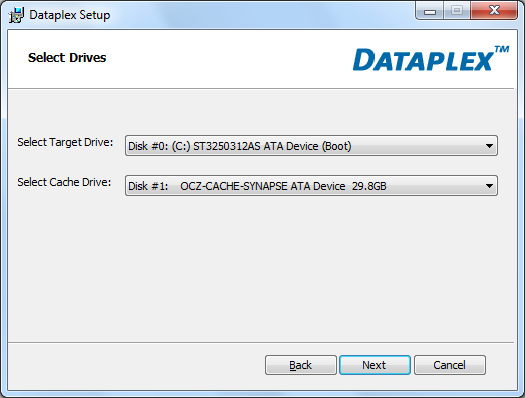
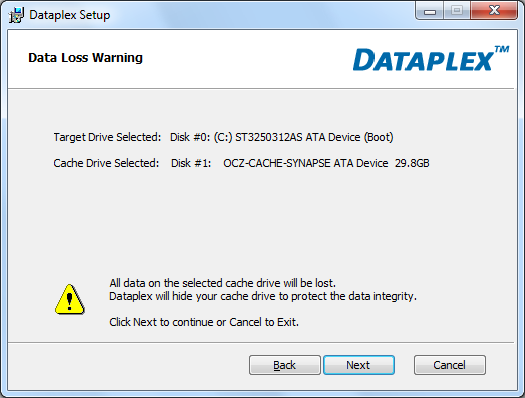
Next, you will need to select the target and cache drives. The target drive should be the hard drive with Windows installed on it. Also, take note that the data on the cache drive will be lost.
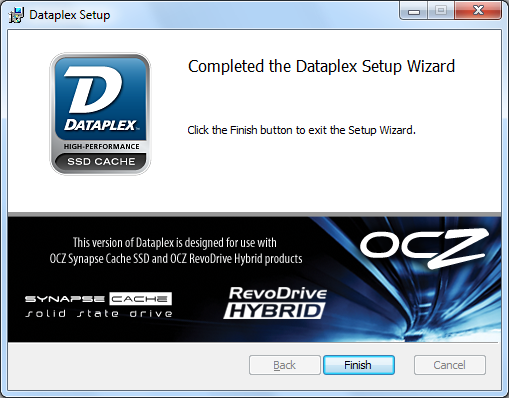
Once you've selected the target and cache drives, the actual installation process will begin. When it's complete, click "Finish" and, when prompted, reboot your system.
After your computer reboots, the Dataplex software is automatically enabled and will begin caching to the SSD. To verify that the software is running, locate the "Dataplex" folder in the Start Menu and select "Dataplex Status." If everything is working, you'll see something similar to the screenshot below.


