The TS mini ships with either a 500GB, 1TB or 2TB hard drive already installed so its nearly ready to go out of the box. Simply connect the power and ethernet cables to the server and power it on.
The next step is to install the Windows Home Server Connector software. To do so, insert the Software Installation CD into a computer that is connected to the same network as the TS mini. If you have autorun enabled on your computer, the window shown below will appear when you insert the disc.

To begin the installation process, simply click the Next button. Once you accept the EULA, the program will walk you through the process of installing the Windows Home Server Connector software and configuring the TS mini.

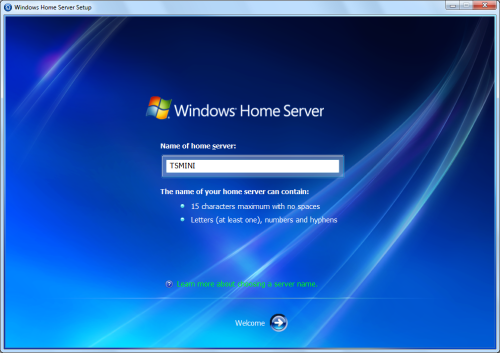
Configuring the TS mini is pretty straightforward. The first step is to give your home server a name. The name can contain up to 15 characters (including letters, numbers, and hyphens) with no spaces.
Next, you will need to provide a password. This is the password used to connect to Windows Home Server from the console so it needs to be fairly secure.

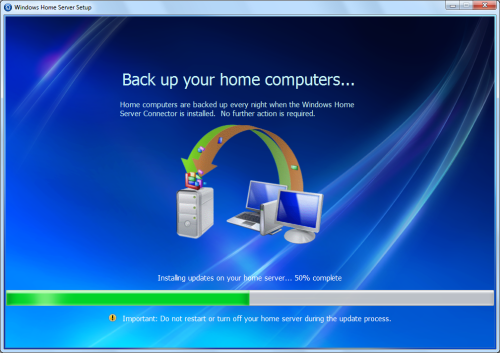
Once it has all the info it needs, Windows Home Server will prepare the TS mini and install any updates it is missing. The amount of time it takes will vary depending on your internet connection speed.
Once this is done, the TS mini is ready to go. If need be, you can login to the console and make additional changes to the server's configuration.