Thanks to its USB 2.0 interface, Lite-On's new DVD writer was very easy to install. From start to finish, the installation took only a few minutes. All you need to do is connect the power cable, plug the USB cable into the drive and the computer, and then power the drive on. If the computer is already turned on, plug and play will try to install drivers for the drive automatically. These drivers are already built into Windows ME, 2000 and XP. However, those still using Windows 98 SE will need to pop in the Nero CD and tell the OS where the drivers are located. Once you have the drivers installed on your computer you should not have to install them again. The computer will find them automatically whenever you connect the drive.
Software Installation:
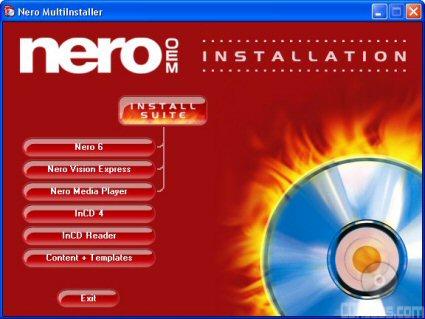
Lite-On's new DVD writer comes with three CD's full of software. The first of these contains a number of different applications from Nero If you have autorun enabled on your computer, the menu pictured below will automatically come up when you insert the disc.
This menu is pretty straight forward. To install the writing software, you will want to choose the "Install Nero OEM Suite" option. After that, you will be taken to the Ahead Software installation menu.
By now most of you should be pretty familiar with this menu. From here you are presented with options to install Nero Express,NeroVision Express, Nero Media Player, InCD 4, or the EasyWrite Reader. You can install each component individually, or everything but InCD in one shot. Once you reboot, you'll be ready to start burning your own discs.
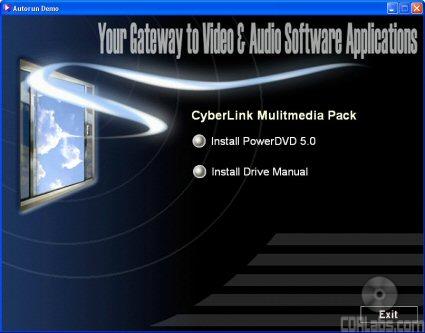
The second software CD contains a copy of PowerDVD 5 from CyberLink. If you have autorun enabled, the installation menu will come up when you insert the CD. To start the setup process, simply select "Install PowerDVD 5.0" from the menu. From there, it's as easy as entering the serial number, choosing the location where you want to install the program and then waiting for the files to be copied over.
The third and final disc contains Lite-On's EZ-DUB software. As with Nero and PowerDVD, the installation process is fairly straightforward. All you need to do is choose what language you want and select the destination folder. Once you reboot, you'll be ready to back up your data and copy existing discs.
Documentation:
Most of the SOHW-1673SU's documentation is located in the "User's Manual." Similar to the ones included with Lite-On's other drives, this manual covers a number of topics. It starts out by going over some of the SOHW-1673S's supported formats, recording modes, and system requirements. The manual also spends a few pages going over the locations and the functions of the buttons and connectors located on the front and back of the drive. The diagrams Lite-On has provided are clearly labeled and easy to understand.
From here, the manual jumps into the physical installation of the drive. These instructions are pretty brief since there really isn't much to plugging in a few cables and turning a computer on. Even then, Lite-On has provided a nice diagram showing how the drive should be hooked up. Last but not least, the manual finishes up with a few short sections on how to operate the SOHW-1673SU and troubleshoot any problems that might arise.
Lite-On's new DVD writer also comes with a "Quick Start Guide." This fold out guide takes the user step by step through the installation process. While a little short on words, there are plenty of diagrams showing what to do. For most people, the "Quick Start Guide" will be all they'll need to get the SOHW-1673S up and running.
In the end, installing the SOHW-1673SU was very easy. I had no problems getting the drive or the software installed and working. If you do run into trouble, the documentation Lite-On has provided is more than sufficient. However, I would have liked to have seen a little more drive specific information. Even then, the installation gets a 9 out of a possible 10.


