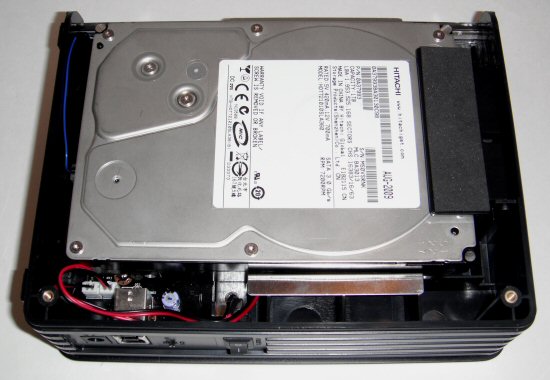
Installing a hard drive in the Goliath is very easy. To begin, remove the two screws on the side without the fan. Once the screws are removed, the aluminum cover should slide right off, exposing the enclosure's internals.

The next step is to flip up the protective cover. Once this is out of the way, you'll have enough room to insert a 3.5" hard drive into the enclosure. The easiest way to do this is to line up the SATA connectors and slide the drive into place. The foam pads on either side of the drive hold onto it pretty well so you may need to use some muscle.

If you're using a thinner hard drive, you may want to use the thicker foam pads that HornetTek has included with the enclosure. If not, you can simply flip down the protective cover and screw the aluminum cover back into place. Once this is done, you can go ahead and connect the USB 3.0 cable, plug in the power cable, and turn the enclosure on. If everything goes as planned, your computer should automatically detect the Goliath and install any drivers it may need.

