DIGISTOR's portable Blu-ray Disc writer was very easy to install. Thanks to its USB 2.0 interface, the entire installation process took only a matter of minutes. With no jumpers to worry about, it was as simple as connecting the USB cable. Once connected to our test computer, it took only a matter of seconds for plug and play to install the necessary drivers. After making sure that the drive was recognized correctly in the Device Manager, I was ready to start installing the software.
Software Installation:
As I mentioned earlier, the DIG-79102 comes with two CD's full of software. The first of these contains Arcsoft's TotalMedia Extreme 2 suite. If you have autorun enabled on your computer, the installation wizard will automatically launch and the window pictured below will appear when you insert the disc.

Installing TotalMedia Extreme is pretty straightforward. Once you've agreed to the license agreement, entered the serial number and selected the destination folder, you'll be presented with a list of components to choose from. Simply select the components you want and click next a few times. Once the files are copied over, you can start burning your own discs.

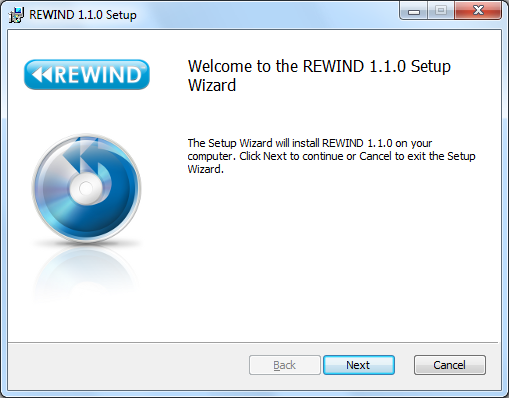
The second CD contains DIGISTOR's own REWIND archiving software. If you have autorun enabled on your computer, the installation wizard will automatically launch and the window pictured below will appear. If it doesn't run automatically, you will need to locate and run the installer file on the CD.

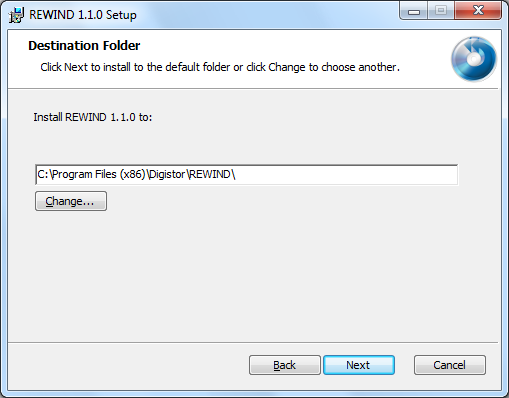
Clicking Next will bring up the End-User License Agreement or EULA. Once you've agreed to the terms in the license agreement, the installer will ask you where you want to install the files for REWIND.
After that, its as simple as clicking Next and waiting for the installer to copy the files over to your computer. When it's done, you can start archiving your data using REWIND.

The Documentation:
DIGISTOR really doesn't include much in the way of documentation. The closest thing to a manual is the drive's "Quick Installation Guide." This small guide takes the user step by step through the installation process. The instructions are pretty brief since there really isn't much to do other than plug in the USB cable and turn the drive on. The guide also goes over the battery level indicator on top of the DIG-79102 and explains what the colors signify. The guide finishes up with some information on the included accessories as well as the software options available. If you're looking for things like the DIG-79102's specs or system requirements, you'll have to check the DIGISTOR's website. You won't find that information in the guide.
For ease of installation, the DIG-79102 is hard to beat. Thanks to its bus-powered, USB 2.0 interface, it's as simple as plugging in a single cable. On the other hand, the documentation DIGISTOR has provided is brief and doesn't have a lot of drive specific information. However, it should be enough to get the drive installed and working correctly. With this in mind, I give the installation an 8 out of a possible 10.


