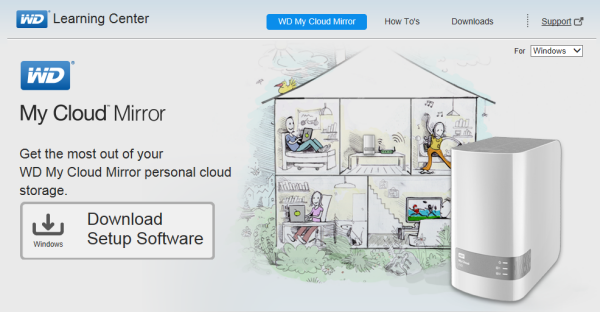
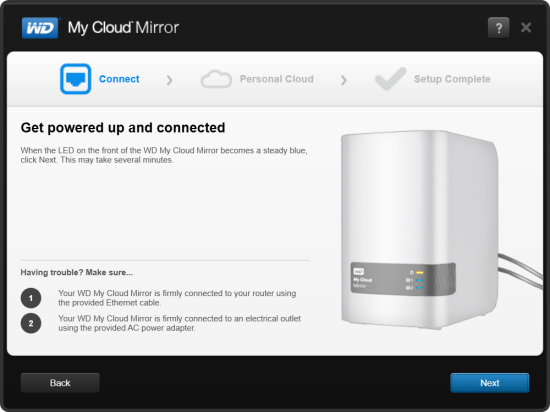
The My Cloud Mirror is ready to go out of the box. Simply connect the network cable and power cord and, once its powered up, configure the device. If you have a DHCP server on your network and you know what IP the NAS is using, you can skip the next few steps and connect directly to the web menu. Otherwise, you'll need to download the setup software from WD's website.
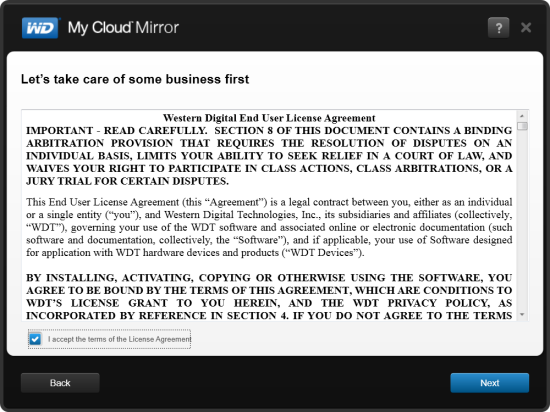
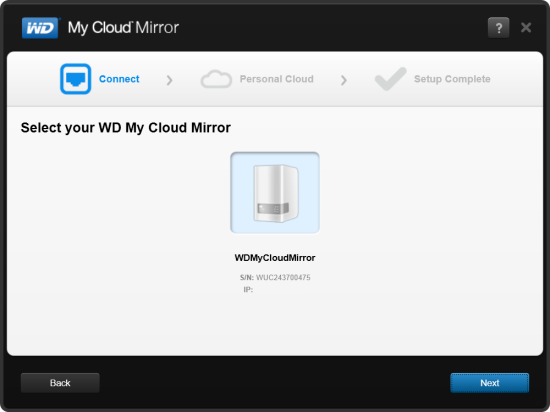
The setup process is pretty straightforward. Once you've accepted the EULA, the software searches the network, looking for any My Cloud Mirror devices. When it finds one, it will display its name, serial number and IP address.
 |
 |
 |
 |
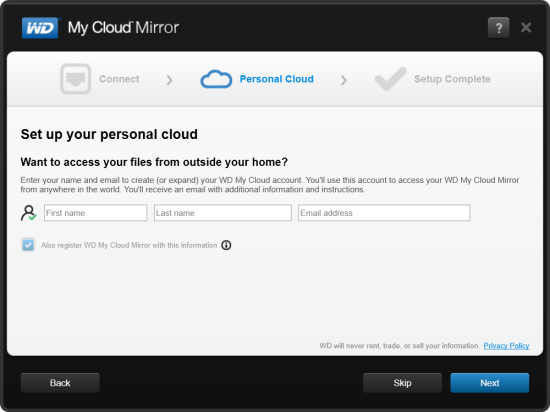
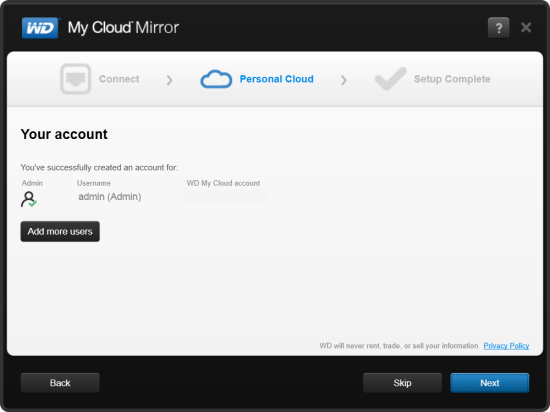
If your My Cloud Mirror is not configured, the software prompts you for your name and email address so that you can create or expand your WD My Cloud account. This account will let you access the device from anywhere in the world. This information is also used to create the local admin account.
 |
 |

Once it's done setting up the My Cloud Mirror, the software gives you the option to install the WD My Cloud application which lets you access, upload, manage and share your files from home or on the road. It can also place helpful shortcuts on your desktop and configure the Mirror so that firmware updates are automatically applied when they become available.