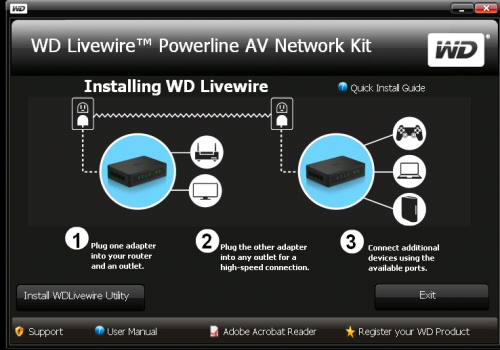
The WD Livewire powerline AV network kit can be setup in a matter of minutes. To begin, connect one of the Livewire adapters to your router using an ethernet cable and then plug it directly into an electrical outlet. Once that is done, plug the second adapter into an outlet in another room where a wired network connection is needed. If the two adapters are working correctly, the PLC-Link indicator on each should be illuminated. The last step is to plug your computers, media players, network hard drives and game consoles into the adapters' ethernet ports.
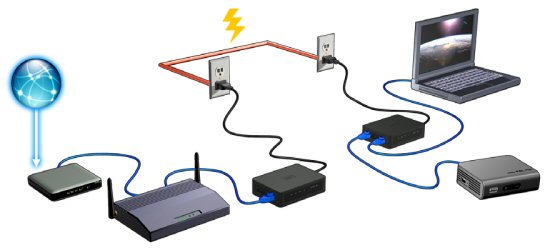
If you live in an apartment building where the electrical system is not exclusive to your living space, you may want to create a private network. To do so, press the Sync button on the back of each adapter for less than three seconds within a span of two minutes.
Software:
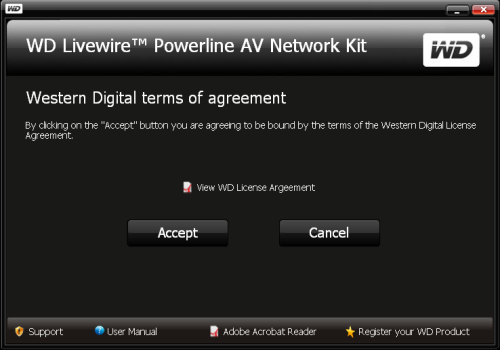
The adapters included in the WD Livewire powerline AV network kit are entirely plug and play and can be used without having to install any software. Nevertheless, if you want to upgrade the firmware, run diagnostics or change the name of your private network, you will need to install the WD Livewire Utility which is located on the software CD. If you have autorun enabled, the menu pictured below will automatically come up when you insert the disc.
Once you accept the license agreement, you'll see a button for the WD LiveWire Utility. Clicking it will begin the installation process. The first thing installed is WinPcap, which is an open source library for packet capture and network analysis.
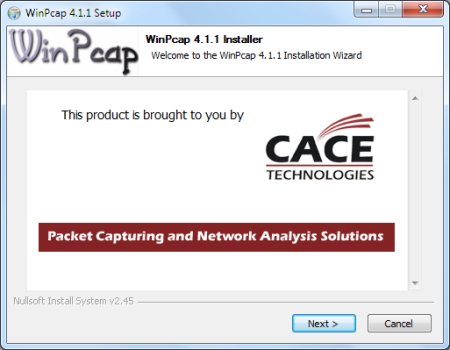
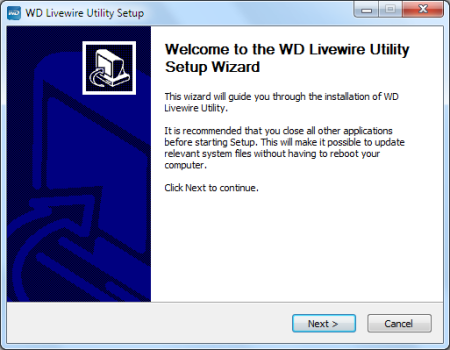
Once WinPcap is installed, the setup program for the WD Livewire Utility will automatically launch. All you need to do is accept to the license agreement, specify the destination folder and wait for the files to be copied over to your computer.
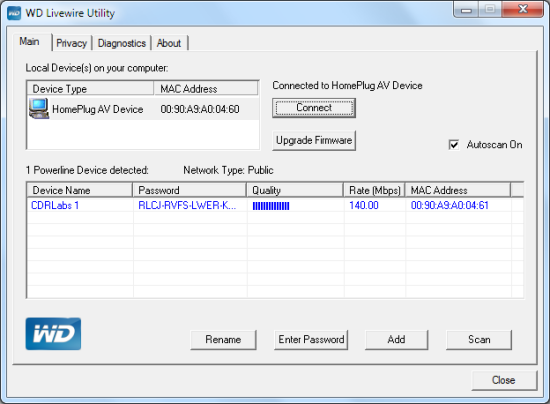
The WD Livewire Utility is pretty straightforward. From the Main tab, you can connect to and upgrade the firmware of the local device. The utility can also scan for other power line devices and show the name, password, connection quality and data rate of each.
Clicking on the Privacy tab will bring up another screen where you can change the private network name. This can be set on the local device only or all of the devices on the network. Take note that if you decide to set this on all devices, you will need to enter their passwords on the Main tab first.


