Along with smaller cable size, one of the biggest benefits of Serial ATA is its ease of installation. Because it uses a point to point connection, setting jumpers has become a thing of the past. In most cases, installation is as simple as plugging in the SATA and power cables and turning the computer on. Needless to say, it took only a couple of minutes to install Samsung's new DVD writer in our test computer. After making sure that the SH-S223Q was recognized by Windows, I was ready to start installing the software.
Software Installation:
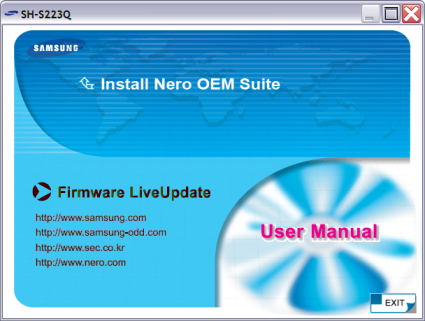
As I mentioned earlier, the SH-S223Q comes with a CD full of software from Nero. If you have autorun enabled on your computer, the menu shown below will automatically come up when you insert the disc.

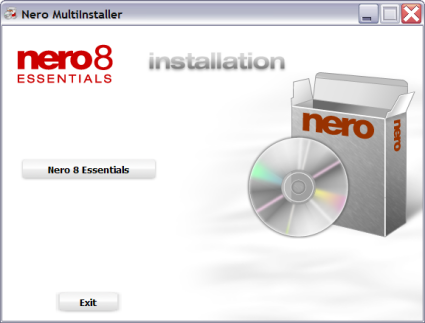
As you can see, this menu is pretty straight forward. To install the writing software, you will want to choose the "Install Nero OEM Suite" option. After that, you will be taken to the Nero installation menu.

By default the setup program for Nero 8 Essentials will install everything but InCD onto your computer. If you don't want to install the entire suite, select the custom installation. From here you can choose the components you want. Once you reboot, you'll be ready to start burning your own discs.
Documentation:
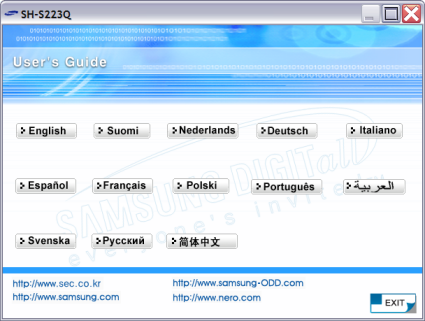
Most of the SH-S223Q's documentation is located on the software CD in electronic format. While I'm not usually a big fan of this sort of thing, Samsung has gone the extra mile here. Instead of just throwing a few PDF files onto the CD, Samsung has created an easy to navigate, HTML based guide.

The guide starts out with a few pages worth of safety precautions. From there, it goes over the buttons and connectors located on the front and back of the SH-S223Q. Everything is labeled clearly and the functions of each are explained very well. The guide continues on by going over the physical installation of the drive. With no jumpers to configure, this section is relatively brief. Nevertheless, it covers all of the basics including how to install the drive into an empty bay and hook up the cables.
The guide finishes up by going over the basic operation of the SH-S223Q. Along with information on how to use and maintain the drive, there is a short troubleshooting section containing a list of common problems as well as their solutions. Last but not least, Samsung has provided a comprehensive list of specifications for the SH-S223Q. Unfortunately, the guide has very little information on features like LightScribe and TruDirect.
The SH-S223Q also comes with a small "Setup Guide". Like the manual, this fold out guide goes over the drive's buttons and connectors. It also contains a set of instructions that take you step by step through the installation process. While a little short on words, Samsung has included a number of diagrams showing what to do. For most people, the "Setup Guide" will be all they'll need to get the drive up and running.
Like Samsung's previous DVD writers, the SH-S223Q was very easy to install. I had no problems getting the drive or the software installed and working. If you do run into trouble, the documentation Samsung has provided is more than sufficient. However, I would have liked to have seen some information on LightScribe and TruDirect. With this in mind, I give the installation an 8 out of a possible 10.

