Plextor's new external Blu-ray Disc writer was very easy to install. Thanks to its support for both USB 3.0 and eSATA, the entire installation process took only a matter of minutes. With no jumpers to worry about, it was as simple as connecting the USB (or eSATA) cable, plugging in the power cable, and powering the drive on. Once connected to our test computer, it took only a matter of seconds for plug and play to install the necessary drivers. After making sure that the drive was recognized correctly in the Device Manager, I was ready to start installing the software.
Software Installation:
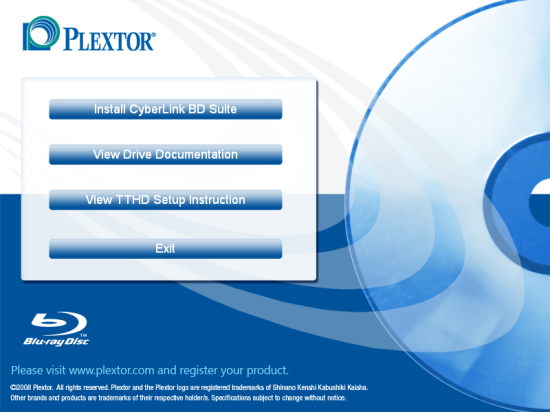
As I mentioned earlier, the PX-LB950UE comes with two CD's full of software. The first of these contains CyberLink's Blu-ray Disc Suite. If you have autorun enabled, the menu pictured below will automatically come up when you insert the disc. From here you can choose to install the bundled software, check out the drive documentation or view the TTDH setup instructions.

Clicking the "Install CyberLink BD Suite" button will bring up another menu where you can read about the various applications included in the suite. Otherwise, you can start the setup process by clicking the "Install Now" button.

After selecting your preferred language and entering your customer information, you'll be presented with a number of installation options. From here, you can choose to install InstantBurn, LabelPrint, Power2Go, PowerBackup, PowerDirector, PowerDVD or PowerProducer. Simply select the components you want and click next a few times. Once the files are copied over, you can start burning your own discs.

The second disc contains Plextor's PlexUtilities software. Like the other software, the installation process is pretty straightforward. Simply put the disc into your drive, run the executable and accept the license agreement. Once the files are copied over, you'll be able to use PlexUtilities to control the advanced features available on the PX-LB950UE.
The Documentation:
The bulk of the PX-LB950UE's documentation is located on the software CD in electronic format. Similar to the ones included with Plextor's other drives, the manual starts out by getting the user familiarized with their new drive. The first section goes over the PX-LB950UE's capabilities including its supported formats and recording modes. The manual also spends a few pages going over the locations and the functions of the buttons and connectors located on the front and back of the drive.
From here, the manual goes right into the physical installation of the PX-LB950UE. The instructions are pretty brief since there really isn't much to do other than plug in a few cables and turn the drive on. The manual continues on by going over the basic operation of the PX-LB950UE. Along with information on how to use and maintain the drive, there is a short troubleshooting section containing a list of common problems as well as their solutions.
The PX-LB950UE also comes with a "Quick Installation Guide." This small, fold out guide takes the user step by step through the installation process. While a little short on words, Plextor has provided a few diagrams showing how the drive should be hooked up. For most people, the "Drive Installation Guide" will be all they'll need to get the PX-LB950UE up and running.
For ease of installation, the PX-Q840A is hard to beat. Thanks to its USB 3.0 and eSATA interfaces, it's as simple as plugging in a few cables and flipping the power switch. Nevertheless, if you do run into trouble, the documentation Plextor has provided is quite good, even though most of it is in electronic format. With this in mind, the PX-LB950UE scores a 9 out of 10 for the installation portion of this review.

