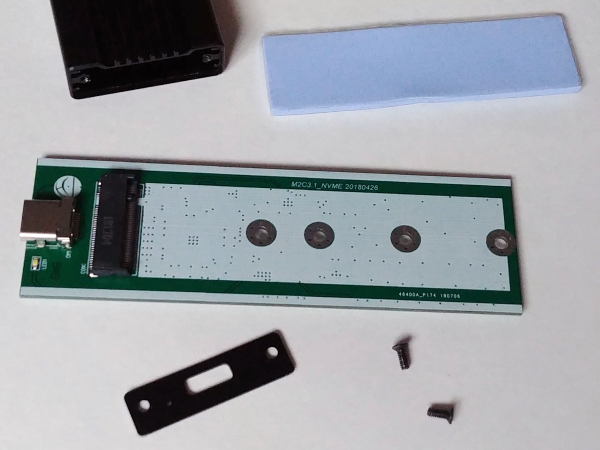
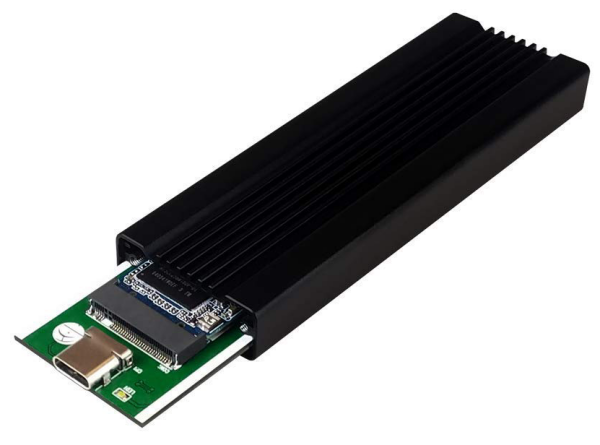
Installing an SSD in the M2X is very easy. To begin, remove the two screws on one side of the enclosure. Once the screws are removed, the side panel should pop off, allowing you to slide out the printed circuit board (PCB) and thermal pad.

The next step is to mount the SSD on the PCB. This is done by inserting the drive into the M.2 slot and, using the included hardware, screwing it into place. Take note that the top and bottom of the brass piece are two different thicknesses. You will want to place the thicker end against the PCB. If you don't do this, the SSD will be on an angle and the thermal pad will not touch the enclosure equally on both ends.

With the SSD now attached to the PCB, you can apply the thermal pad and slide it all back into the enclosure. Once you've reattached the side panel, you should be ready to go.

If everything goes as planned, you will see a new disk drive within Device Manager. Instead of using the name of the SSD, the M2X is identified as a "JMicron Generic SCSI Disk Device."


