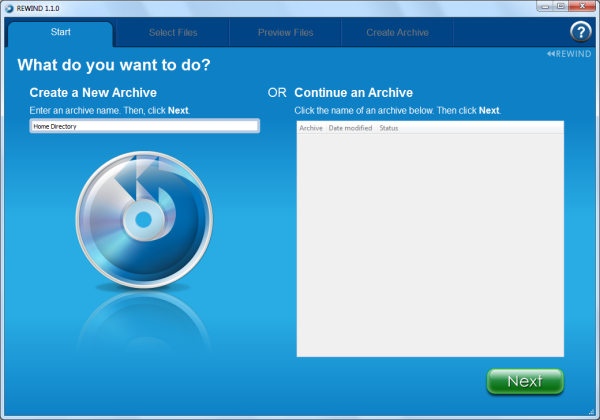
The first thing you'll see is the Start tab. From here you can create a new archive or continue an existing one. To create a new archive, enter a unique archive name and then click the Next button.
The Select Files tab is where you choose which files and folders you want included in your archive. The easiest way to add files and folders to your archive is to drag and drop them directly into REWIND's file browser. You can also use the provided shortcuts to go directly to the areas where your documents, pictures, music and video are commonly stored. To include a file or folder in your archive, check the box to the left of the icon. You can also click and drag the cursor to select multiple files or folders.

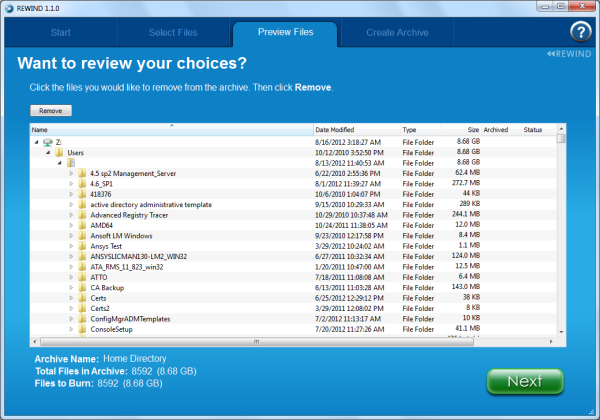
The Preview Files tab displays a list of the files you have selected for the archive. On this screen you can review your selections and remove any files you do not want included in the archive.
On the Create Archive tab you select the Blu-ray archive burner and the speed you want to burn the archive at. The disc name is a shortened version of the archive name and is automatically generated by REWIND. You can edit the name if you want to but the disc number cannot be changed. REWIND also gives you the option to verify the data while writing. Keep in mind, this process will add to the overall burn time. When you're ready to burn your archive to disc, click the "Archive It" button. A progress indicator shows you how much of the archive burn has been completed.

The Finish Later button appears after the burning process begins. Clicking it allows you to stop burning the archive before it is completed. Files that have not yet been burned to disc remain selected and are burned when the archive is continued. Clicking Finish Later allows you to pause your archive mid-burn and continue burning it at a later time.